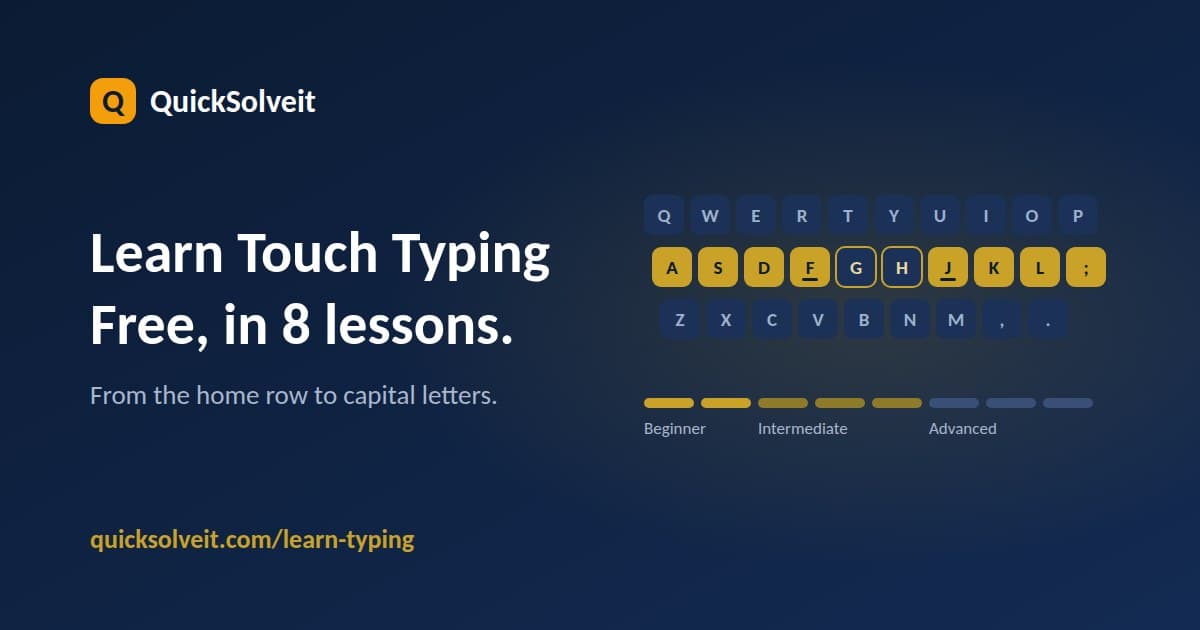
Touch typing means typing without looking at the keyboard, using all ten fingers. It's a skill you can learn online for free, right in your browser. QuickSolveIt's Learn Typing course walks you through it in eight lessons, from the home row to capital letters. This guide explains what touch typing is, how the course is organized, how to practice, and how to track your progress.
What Is Touch Typing?
In touch typing, each finger is responsible for a fixed set of keys, and your fingers return to a "home" position after every reach. Because you rely on muscle memory instead of your eyes, you can keep looking at the screen, your notes, or the document you're copying from. That's why touch typists tend to make fewer mistakes and type faster than people who hunt for each key.
Get Set Up Before Lesson 1
A few minutes of setup makes the first lessons easier:
- Use a physical keyboard. A laptop or desktop keyboard is the right tool. A phone touchscreen won't build the same finger habits.
- Sit comfortably. Keep your back supported, your feet flat, and your wrists straight rather than bent upward.
- Find the home row. Rest your left-hand fingers on A, S, D, F and your right-hand fingers on J, K, L, ; (semicolon). Most keyboards have a small raised bump on F and J so your index fingers can find their place without looking.
- Keep your eyes on the screen. If you catch yourself peeking, that's normal, but try to stop. Covering your hands with a light cloth can help at first.
The 8-Lesson Path on QuickSolveIt
The Learn Typing course starts at the center of the keyboard and works outward, one small group of keys at a time:
- Home Row Foundation (beginner): A S D F and J K L ;
- Home Row Extensions (beginner): G and H
- Top Row Core Keys (intermediate): E, I, R, U
- Top Row, Left Hand Reach (intermediate): Q, W, T
- Top Row, Right Hand Reach (intermediate): Y, O, P
- Bottom Row, Left Hand (advanced): Z, X, C, V
- Bottom Row, Right Hand (advanced): B, N, M, comma, period
- Capital Letters & Precision (advanced): the Shift key and capitalization
You're never asked to learn the whole keyboard at once. Lesson 1, for example, includes a Word Drill and a Paragraph Drill, and you start practice with the "Launch Practice Arena" button.
How to Practice Each Lesson
Open a lesson, read the finger assignment, and place your fingers on the home row. Start with the word drill, then move on to the paragraph drill. Type slowly enough to stay accurate; speed comes later. Repeat the lesson until the target keys feel automatic, and only then move to the next one. The lessons build on each other, so the top row assumes you're comfortable with the home row.
Short, regular sessions work better than occasional long ones. Aim for about 15 to 20 minutes a day, and stop when your focus fades.
Track Your Progress
Lessons teach the technique; a test shows whether it's working. Take the free Typing Test once a week to see your speed and accuracy with real-time feedback.
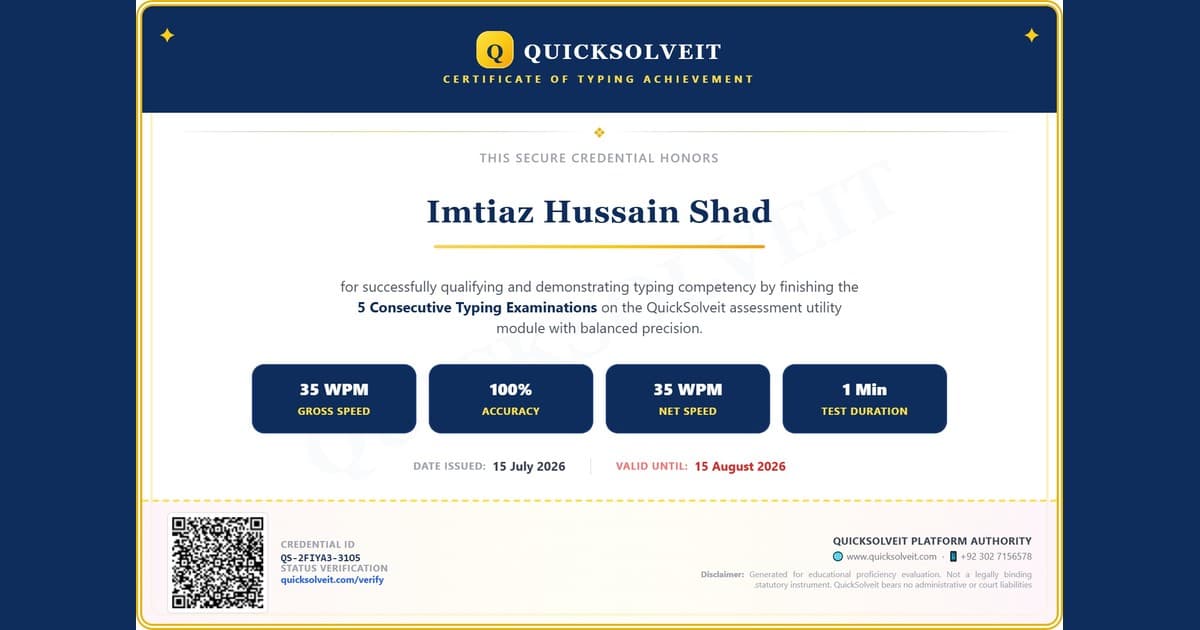
When you want practice that feels less like homework, try the typing games (Bubbles, WordTris, and Clouds) or race other people in Typing Battles. And if you'd like proof of your progress, QuickSolveIt can generate a QR-verified typing certificate.
Learning in Urdu
The course is available in English or Urdu, so you can build the skill in the language you need. If you're preparing for a government exam that requires Urdu typing, read our guide to the Urdu typing speed test for government exams.
Common Mistakes to Avoid
- Looking at the keyboard. It slows down the habit you're trying to build.
- Rushing for speed. Errors lock in bad habits. Build accuracy first, and speed follows.
- Skipping lessons. Each lesson prepares you for the next, so work through them in order.
- Practicing only occasionally. Muscle memory forms through repetition spread across days.
Start Learning Now
You don't need to pay to begin. Open the free Learn Typing course, start with Lesson 1, and give it a few minutes today.